
DeLorean Time Circuits
replica from the Back To The Future blockbuster: a talking alarm clock.
This is a semi-serious rendition of the story behind the making of this project —
a replica of the Time Circuits from Back to the Future, turned into a talking alarm clock.
Aside from actual time travel (which may or may not be possible depending on your time zone, ISP, and your ability to construct a flux capacitor), it works beautifully as a nostalgic gadget, delivering iconic quotes from the film.
If my calculations are correct, when this baby hits 88 miles per hour… you’re gonna see some serious shit.
— Dr. Emmett Brown1
The Instigator
Every now and then, a certain eclectic and gifted guitarist crosses my path — a lover of vintage gear, guitars, and cult memorabilia. On one such occasion, he approached from afar, waving cheerfully.
As he came closer, I noticed what he held in his hand:
- Not a beer glass (he doesn’t drink).
- Not a cigarette (he doesn’t smoke).
- It was… a tiny DeLorean model.
With a grin, he made his pitch:
- He wanted a talking alarm clock (because he oversleeps).
- He wanted to travel through time with it (because history could use some edits).
- He wanted to play with it (because all work and no play… you know the rest).
So I said yes. I’d build a working replica of the Time Circuits — minus the plutonium, of course.
He promised to bring the flux capacitor.
Spoiler: he actually did.
Feature List (2014 prototype)
- Three LED display panels matching the film’s color scheme and font
- Keyboard-based input for time configuration
- Iconic sound FX from the movie
- Alarm quotes voiced loudly through a speaker system
Feature List (2024 prototype)
After ten years, a complete rebuild has taken place. The project has been assembled as a bare-metal board, using ESP32 micro-controllers with WiFi support, separate I2S audio DAC and miniSD card reader for the webserver root and the audio files.
Updated information will come soon, stay tuned!
2014 Prototype Design
This was a one-off build, a passion project.
No mass production, no scaling issues — just pure, joyful making.
That ain’t working, that’s the way to do it.
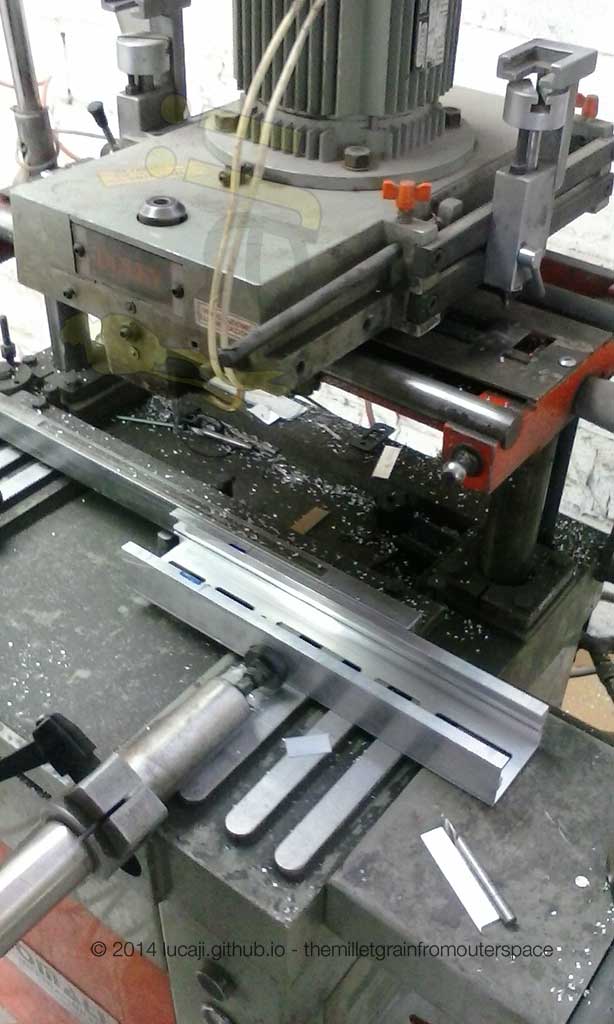
The mechanical fabrication was made possible with help from a good friend and his workshop full of vintage metalworking machines.
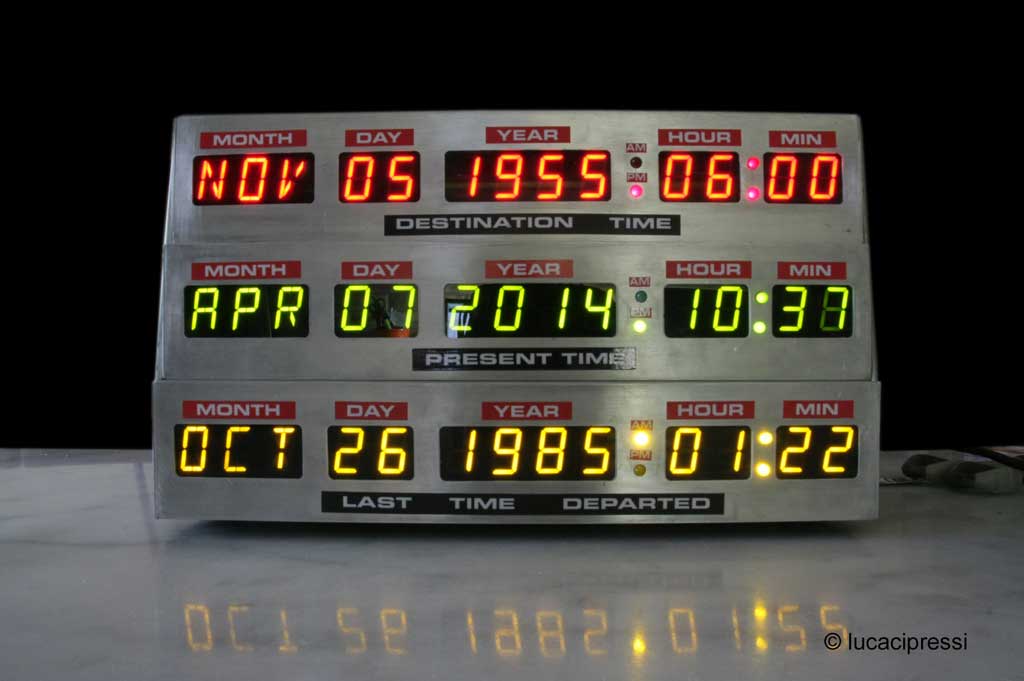
Sizing & Display Selection
Sizing was based loosely on screenshots from the film’s DeLorean dashboard. The real prop likely varied across scenes, but the replica needed to look and feel believable.
Some nerdy notes:
- The month indicator in the film is a backlit plastic plate, not fitted with actual 16/14 segment LED display.
- I needed consistent color availability (red, green, amber), segment types (7 and 16-segment), and character sizing.
After long research, I chose Sunbright 0.8-inch LED displays. This made the device chunkier than the film version — but gave it a great stage presence.
The brains of the build? A first-generation Raspberry Pi Model A — ideal for MP3 playback, speaker output, and NTP sync.

The Display Interface
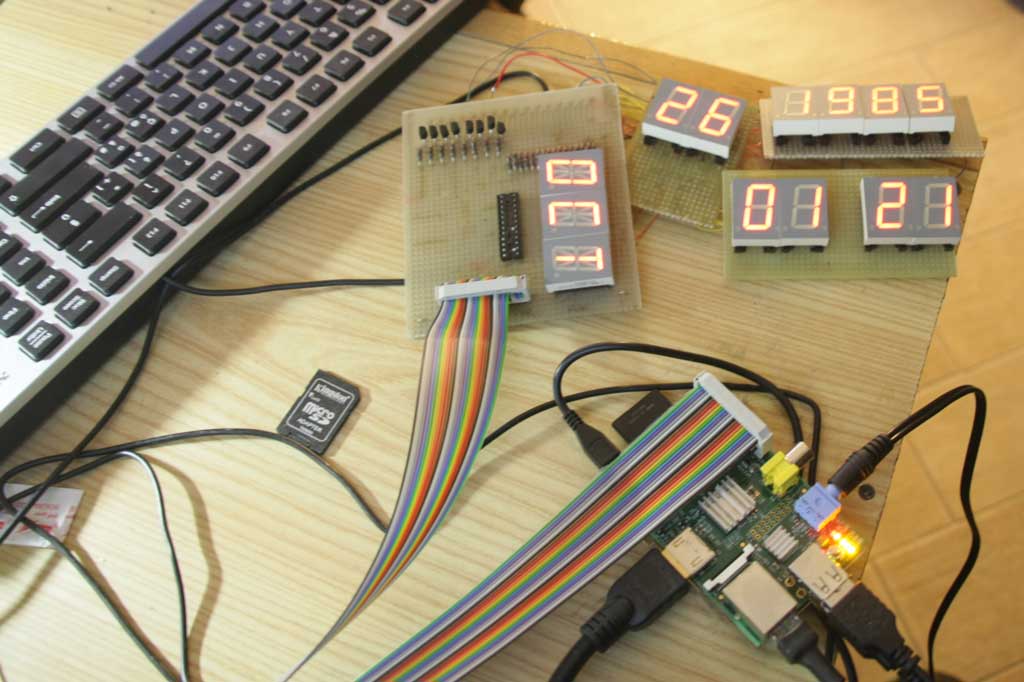
Handcrafted Electronics
This prototype was completely hand-soldered — a deliberate choice to avoid lengthy PCB design, fabrication, and routing time.
While a custom PCB would offer better repeatability, this approach let me skip double-layer trace headaches and work faster with precise manual soldering.

Using a manual router, I cut display slots in aluminum faceplates…
…then mounted the displays. Driver boards sit underneath — the only PCBs actually designed for this project.

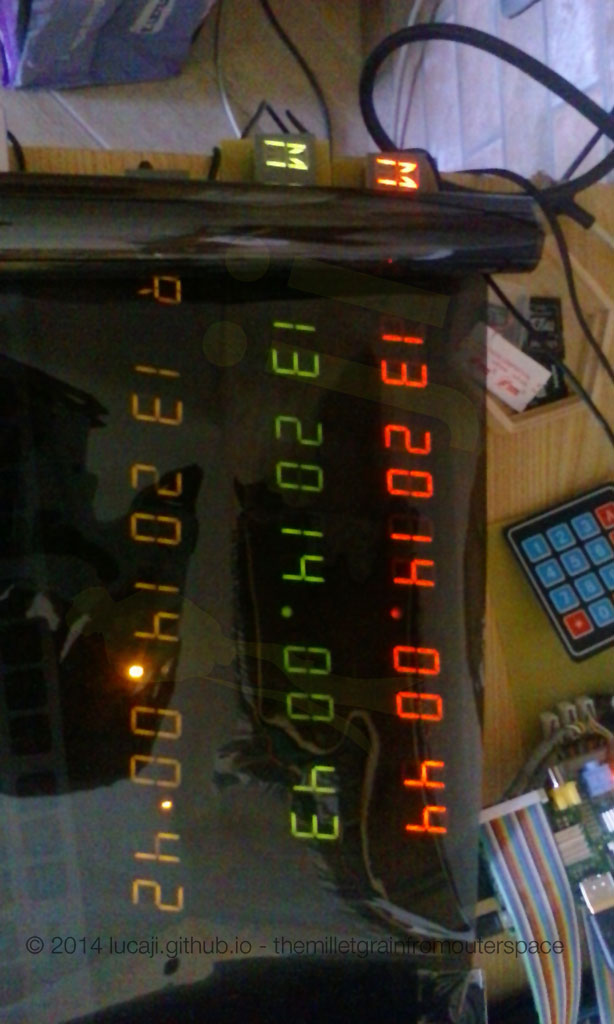
And finally — the 7th of April, 2014, permanently frozen in red, green, and yellow light.
BOM (Bill of Materials)
Prices reflect the state of the world in 2014, in EUR, sourced in Italy. RIP Raspberry Pi Model A.
[Full BOM table preserved — see original post]People & Credits
- Emiliano Sabatini — the inspired (and inspiring) instigator
- Luca Cipressi — design, hardware, software, solder fumes
- Antonio Di Tonto — metal fabrication
- Special thanks to Guido Cammisano
🎬 Extras: TV Feature
Shortly after finishing the gadget, we were interviewed for Italian national TV (RAI3) as part of a segment called Elogio della Creatività (“In Praise of Creativity”).
Here’s a clip from that April 12, 2014 broadcast on TGR Abruzzo:
-
From Back to the Future (1985), directed by Robert Zemeckis. Watch the scene. ↩︎